On a slow Sunday awhile back, with no real plans on the agenda, I found myself pulling into the parking lot at Bashams Factory and Surf Shop in San Clemente (which is considered “essential service” and currently open for business).
Giving into an impulsive urge, I’d decided that today was the perfect day to shape the second surfboard of my life. Maybe it was desperation, maybe it was inspiration. Either way, I wanted a new surfboard and I figured I’d take a stab at making my own.
A few years back I was afforded the opportunity to make a board at the Shaper Studios in San Diego. Learning the basics of the process, I’ve always wanted to make another (and another… and another) ever since then. But after interviewing some of the world’s top shapers for various writing projects over the years, I had, admittedly, psyched myself out. Why learn to shape when there’s so many talented people already doing it?
“As far as functional and foundational building of a surfboard, it really hinges on two basics that are of equal importance,” explained master craftsman Marc Andreini in a previous interview. “One would be the template, the outline curve. And second, which is equal, is the rocker. Those two things have to be harmonious, and from there, although there’s really nothing that’s unimportant—maybe fine sanding is the only thing that you don’t have to worry too much about—but from there it’s pretty easy to pull off a functional surfboard.”
My ear, and ego, tuned into the idea of making a “functional surfboard.” What I was setting out to make didn’t have to be a magic board, it just has to be functional. All good things in time, right? And when I learned that Andreini does the lion’s share of his shaping by feel rather than measurements, it was game on for me.
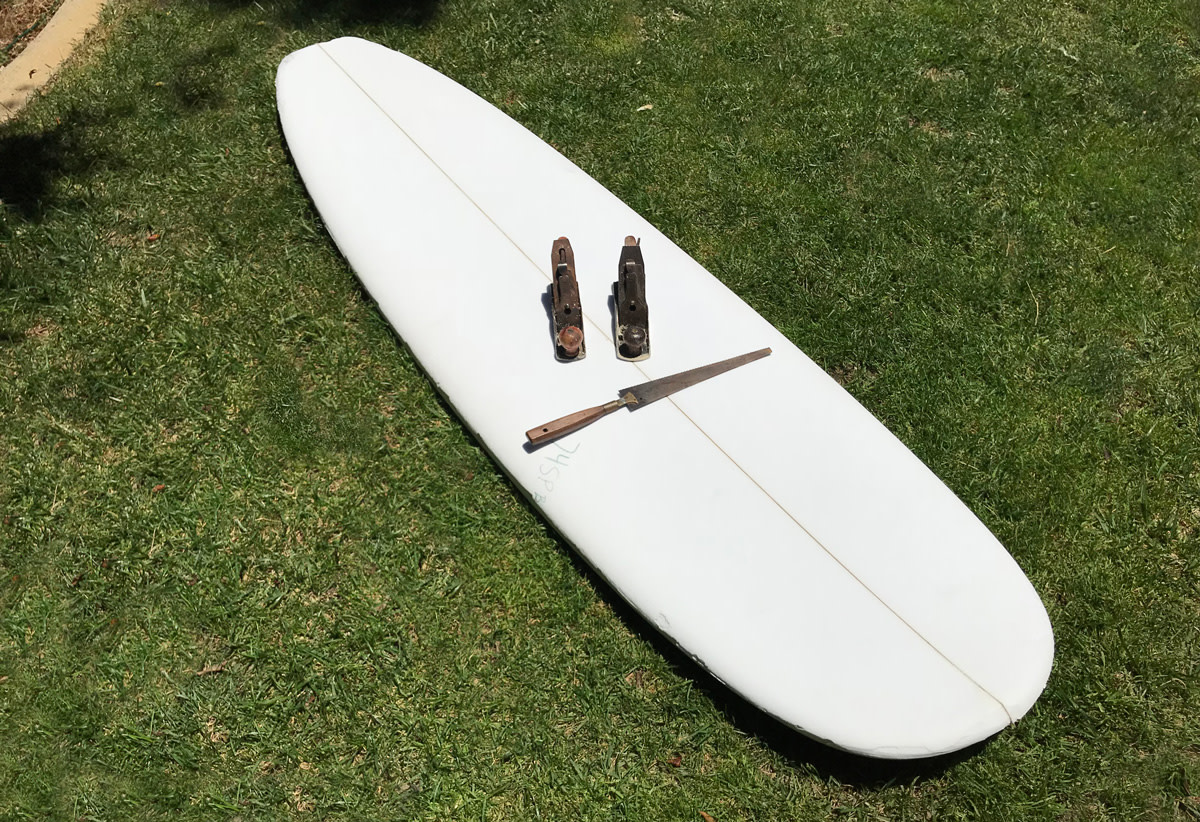
So, I walked into Basham’s with a rough shopping list. (This was not the day to invest in a high-priced planer… This was ground zero.) I sought only the basics that would give me just enough freedom to dip my toe in the water. I armed myself with surform, a sanding pad, some sandpaper and sanding screens, a measuring square and mini planer. I already had a small hand saw to cut out the outline of the board and a few other random tools that I’d been stockpiling. Most importantly, I picked up a 7’4″ blank. (I was out the door for under $200.)
In my backyard I fashioned some leftover galvanized pipe, a cut-up 2×4, an old yoga mat, and, of course, duct tape to invent a shaping stand. I laid down a bunch of tarps to catch all the excess foam, put the blank on the stand, turned on the radio, cracked a beer and got down to it.
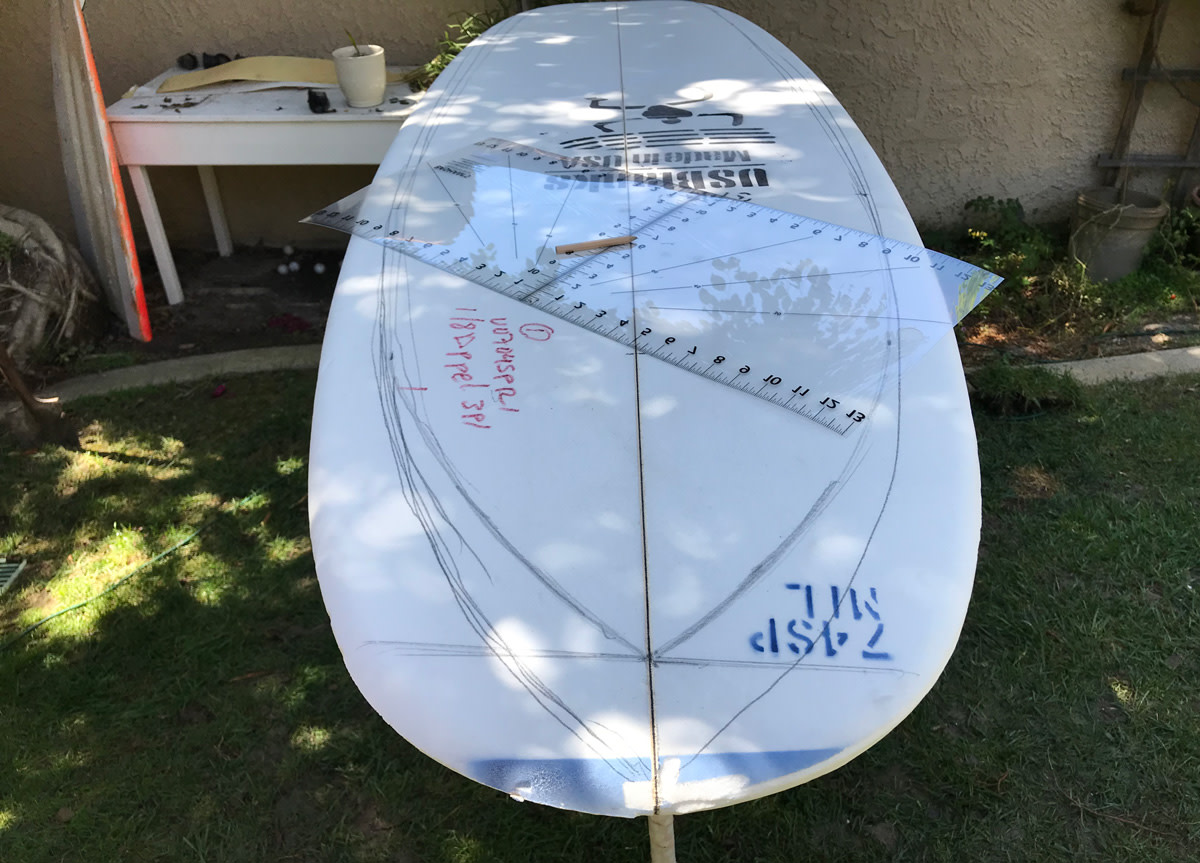
The first thing was to try and get the outline right. I didn’t have a template to work with, so I pulled measurements off of a favorite board and sort of invented my own outline, and created a template off of that. Certainly not ideal, but then again, my goal was simply “functional.” (A board that could float and catch waves was a win, for me… Anything else was gravy.)
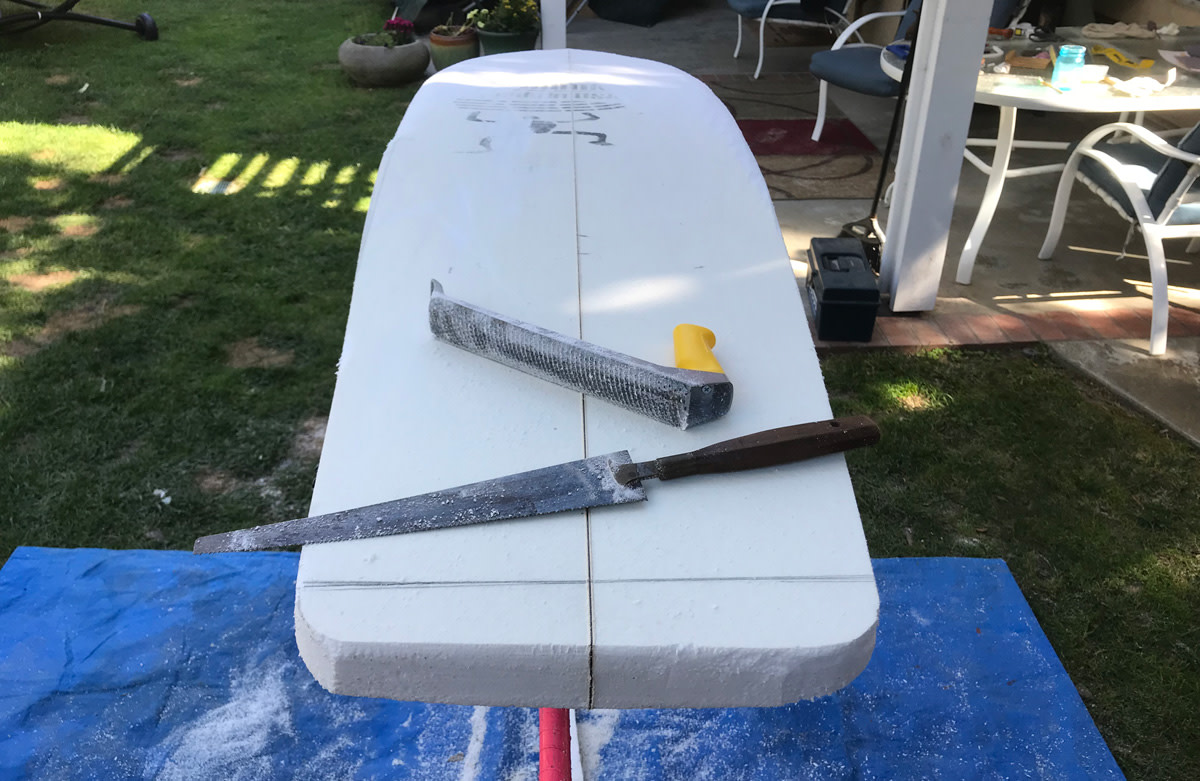
I cut the outline of the board out, Andreini’s words about curves dancing in my head all the while. Crude, yes, but all of a sudden it went from a big, clunky blank to something that vaguely resembled a surfboard. I then attacked it with the surform. Grinding away the foam, I vowed next time to use a planer, but enjoyed the methodical process just the same.
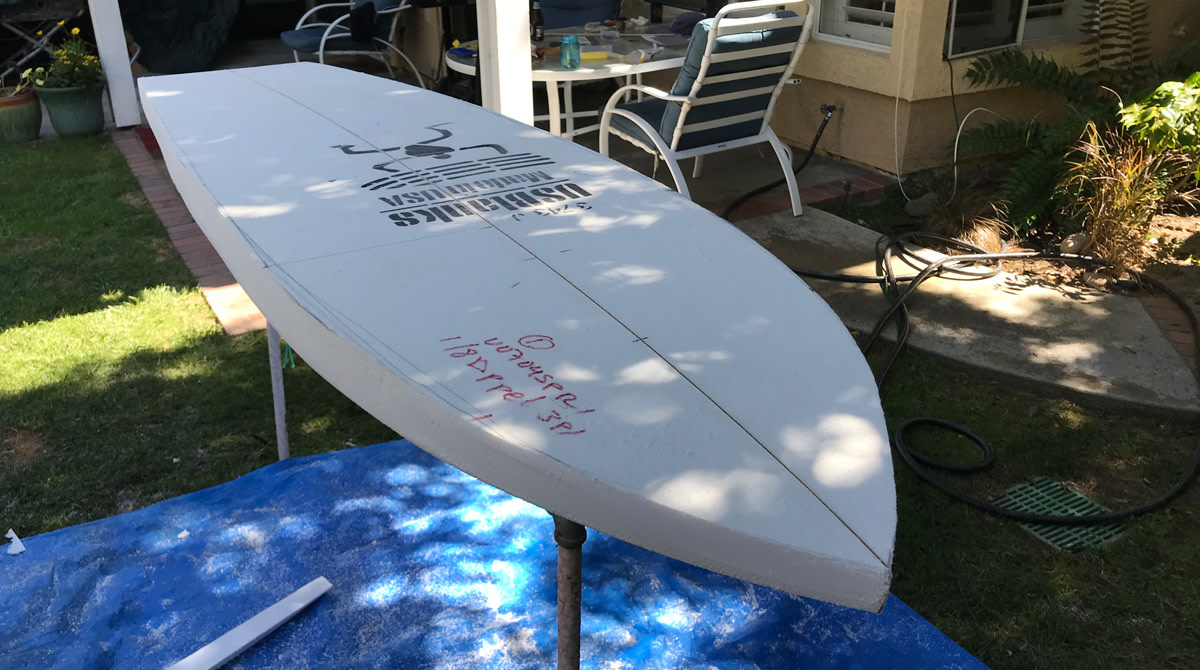
It took a few hours, and a couple more beers, but by the time I was done I had something that I was somewhat satisfied with. Not saying I’d trust my life on it at Pipeline, but it appears to be serviceable for the kinder, gentler California surf.
Truth be told, I haven’t gotten it glassed yet. Bashams does great glass work for hacks like me, and I keep meaning to bring the board by and complete the process, but I’m kind of enjoying the satisfying glow of the post-shaping experience—I don’t know if I’m ready to ruin that feeling quite yet by actually riding the thing.
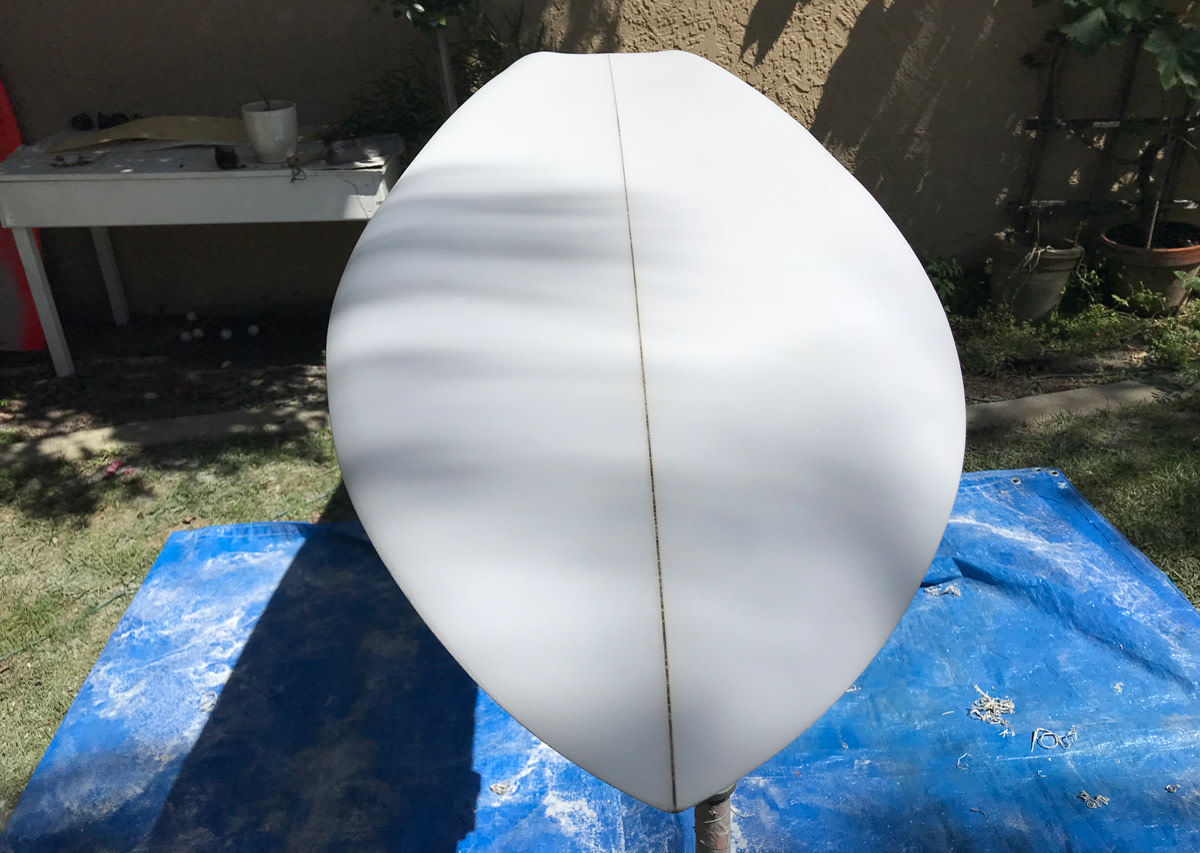
Here’s a shopping list of the very basic things you need to build your own:
– Surfboard Blank (Between $70-$200 depending on size and material)
– Stanley Surform 10″ Plane ($16)
– FlexPad Velcro Block ($19)
– FlexPad Velcro Sand Screen ($4.40)
– FlexPad Velcro Sand Paper ($1.25)
– Kakuri Mini Plane – Curved ($34.50)
All photos by Jake Howard.
from Men's Journal https://ift.tt/3fzWh8c
No comments:
Post a Comment