Men’s Journal aims to feature only the best products and services. If you buy something via one of our links, we may earn a commission.
In This Story
Why We Love This Deal
REI recently unlocked a treasure trove of Arc’teryx deals, including some of the biggest discounts on the brand’s products I’ve personally ever seen (like the Rho LT base layer for 41% off or the Gamma MX jacket for nearly 40% off). While this discounted gear is selling out quickly, there are still a select few pieces available, including this lightweight, sun-blocking hoodie that is perfect for summer’s chillier moments.
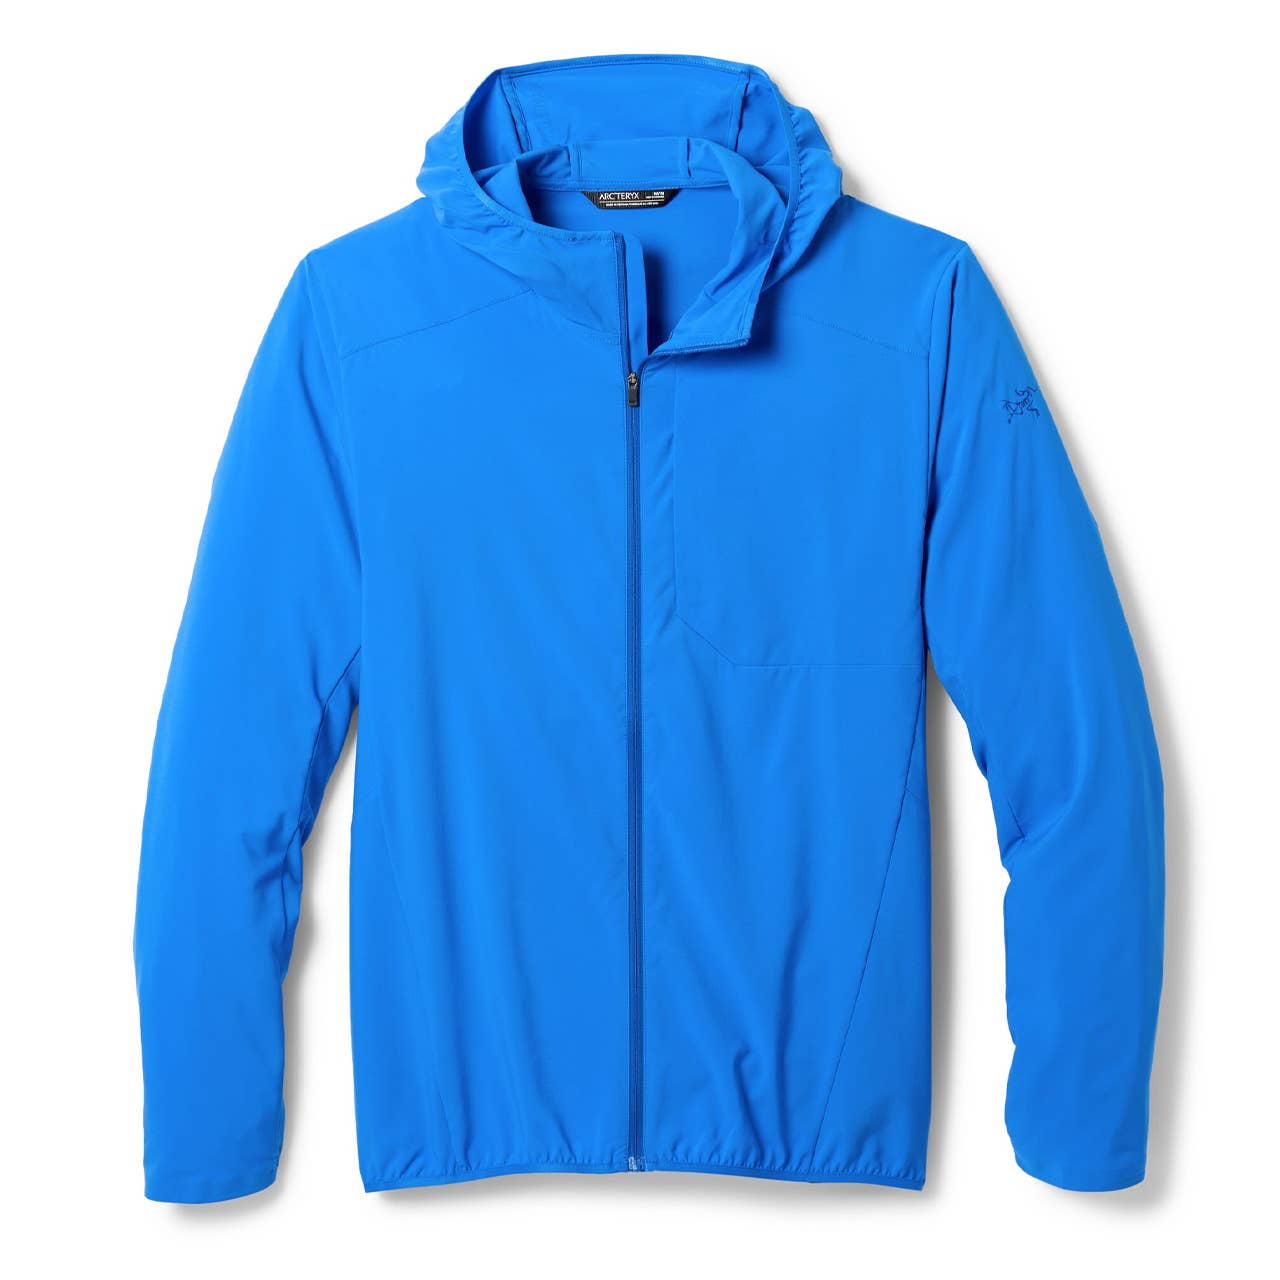
The Arc’teryx Sima Hoody is on sale at REI for just $120; that’s a 25% discount from its $160 MSRP. REI not only has the best price and size selection for this hoodie, but it’s one of the few online retailers that even sells it. It’s no longer available at Arc’teryx, and major retailers like Dick’s Sporting Goods and Backcountry don’t have this item listed at all.
Arc'teryx Sima Hoody, $120 (was $160) at REI

What Shoppers Should Know
- Fabric: 100% recycled polyester
- UPF Rating: 50+
- Weight: 6.34 ounces
“Hoody” might make you think of fall and winter gear, but this is actually an awesome layer for summertime. Why? Its 100% polyester Diem fabric provides excellent sun protection—it’s rated UPF 50+, the highest UPF rating—and great breathability, too. The hood provides crucial coverage over your neck, and it’s designed to fit under a helmet, so it’ll play nice with your other gear.
The Sima is a great choice to wear during fishing trips, boat excursions, beach hangs, bike rides, or any scenario where you’ll be outside and active in the sun. You don’t have to worry about applying sunscreen or losing your sun protection as you sweat, and the Sima’s breathable fabric will keep you comfortable in warm weather.
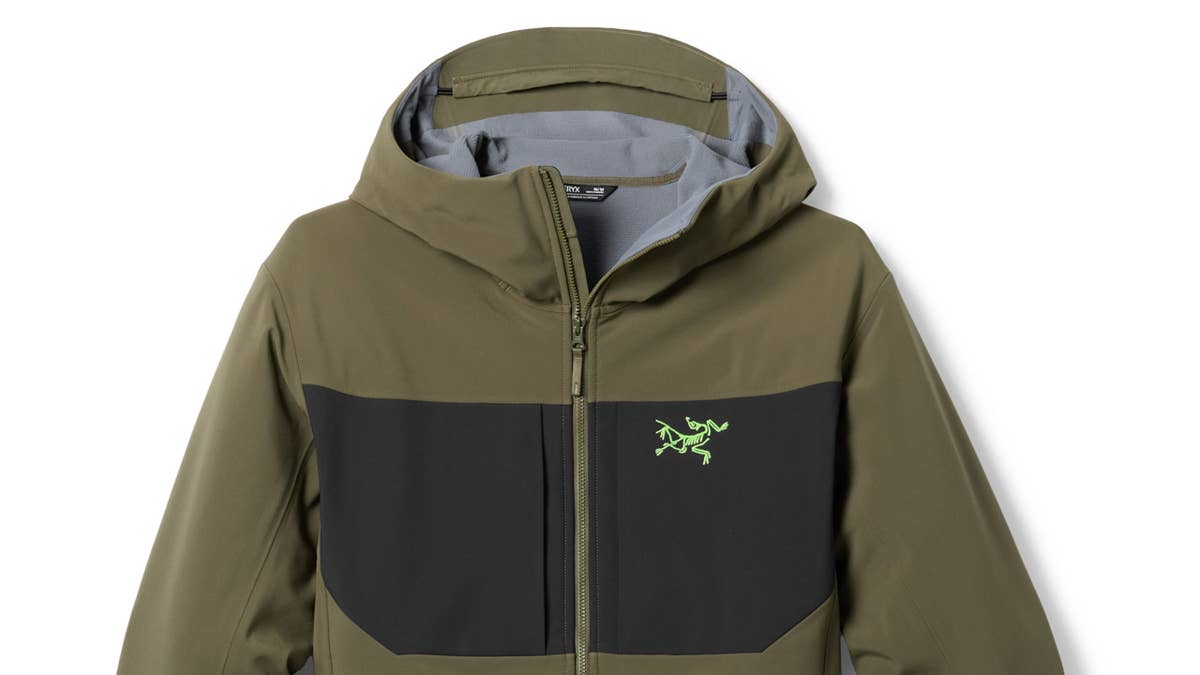
Related: Arc'teryx's Tech-Loaded Gamma MX Hoody Is Nearly 40% Off at REI
Here’s how the Sima stacks up against more familiar Arc’teryx layers. It can function as a base layer like the Rho LT, but it’s lighter and more breathable—the Rho has a fleecy interior lining that traps some warmth. And while the Sima lacks the weatherproofing of true jackets like the Gamma MX and Beta SL, it’s a much better choice for summer activities. Those other jackets can’t match its breathability; they will feel way too hot.
Shoppers are swarming over REI’s stash of Arc’teryx deals, and sizes are selling out quickly. Just one colorway of the Sima Hoody has a complete size range, so there’s not much time left for this 25% deal. Get one in your cart before they’re all gone.
Shop More Deals
- Arc’teryx Gamma MX Hoody, $250 (was $400) at REI
- Arc’teryx Cerium SL Down Hoody, $300 (was $450) at REI
- Arc’teryx Beta SL Shell Jacket, From $300 (was $500) at REI
from Men's Journal https://ift.tt/7Irbxls