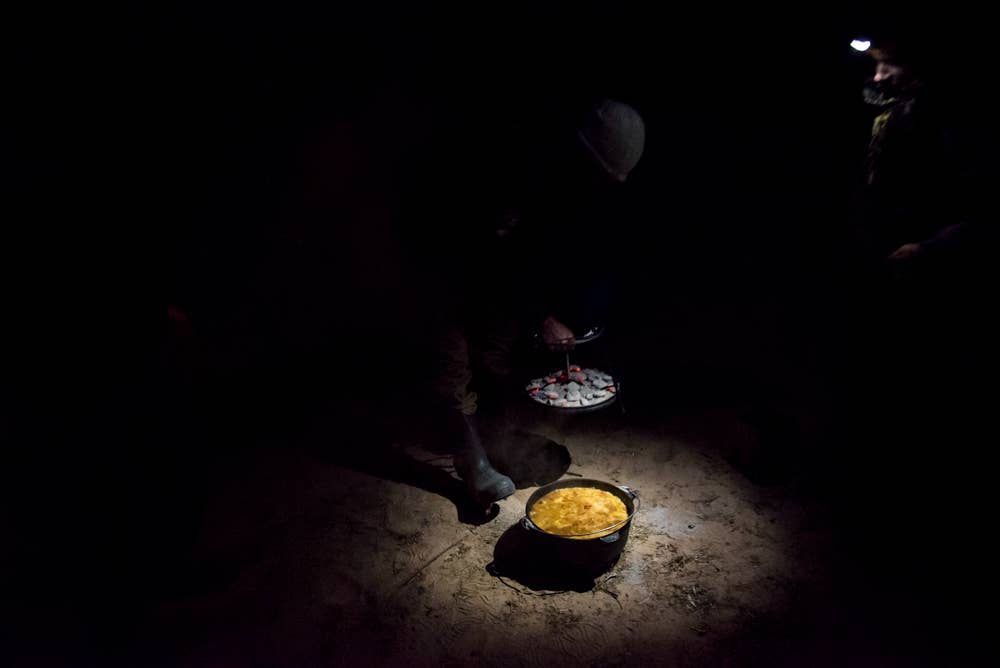
My initiation into the world of Dutch oven cooking was, like it is for many campers, quite intimidating: in the dark, around a fire ring. As a young boy scout, many merit badges ago, our troop sat in wonder while our gruff, chain-smoking Army vet scoutmaster helmed the clunky cast iron. Though more accustomed to barking orders than teaching the joys of the cooking, he became instantly beguiled by lifting the heavy lid to peek in the pot. The smell of caramelizing fruit and baking cake drifted out. It stopped his otherwise endless grumbling as he ladled even scoops of the hot mix into our mess tins. Despite the no-nonsense demeanor, I knew he was excited with the alchemy at hand, and we were equally mystified.
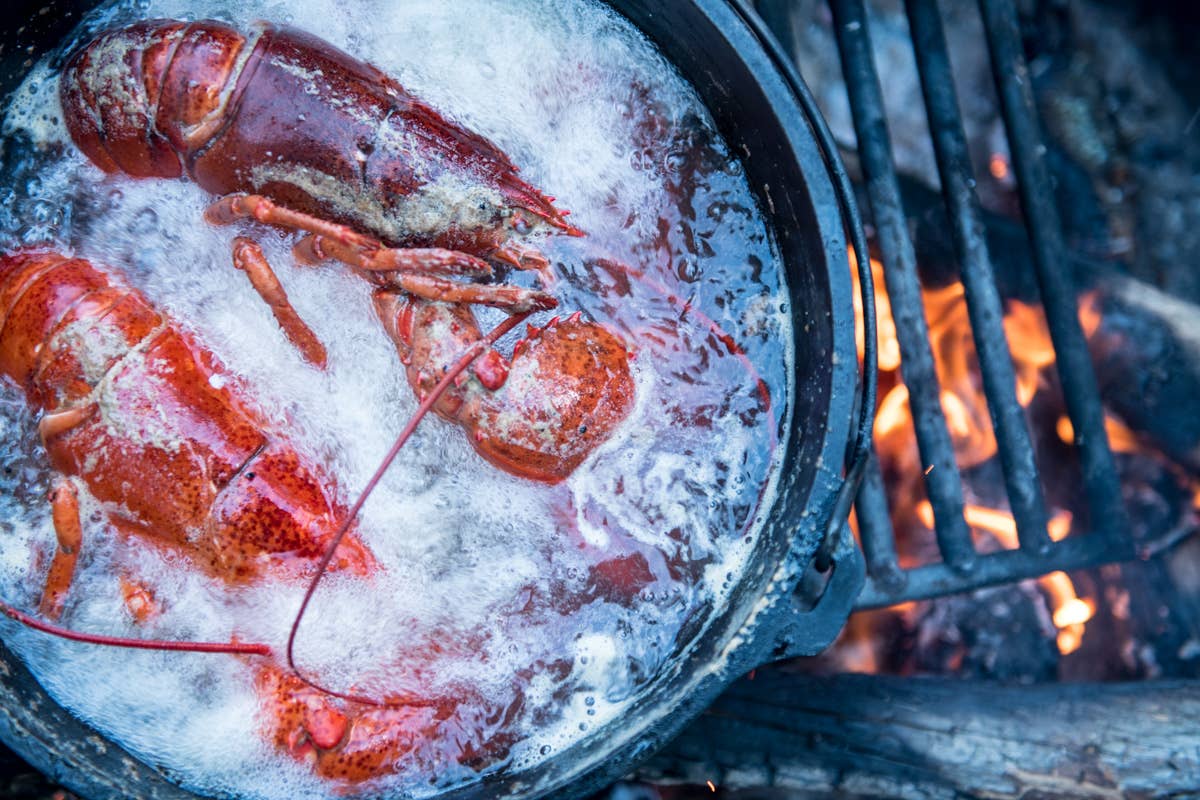
A recent multi-day canoe trip in Maine re-kindled my awe for the Dutch oven’s elegant simplicity. Our trip leader Zand Martin — a seasoned explorer and longtime NOLS instructor who wrote the school’s book on expedition canoeing — wowed us with a five-course meal on our first night, reserving the DO to boil lobsters before making blueberry grunts for dessert.
“Canoe-camping allows you to bring some extra items,” Martin understated, “it’s living well.”
On the morning of Day Three, Martin whipped up a dough from scratch and began caramelizing pecans. “Doing the nuts this way is definitely a varsity move,” he said nonchalantly, as he stirred the butter and sugar mixture in his Dutch over a roaring campfire. “No crap,” I thought as I filmed the full cinnamon bun assembly (video above). But as I watched the process unfold, the magic of the DO was still there — but the spell was broken. Nothing Martin did was that complicated. It was all tasks I had done in my own kitchen at home. All that my grizzled scoutmaster had used was mix canned peaches, cherries and white cake mix. After we finished filming, Martin even admitted he’d just started using a Dutch oven.
Then and there, I decided to never camp without a dutch oven. Lugging the extra weight pays off: the cooking process brings the best of the outdoors into conjunction though campfires, entertainment and community. Here’s a few tips to unlock their full potential.
Start Simple: Pick up a boxed cake mix of your choice along with some canned or frozen fruit. Put the fruit down on the bottom and then layer the cake batter over the top. Bake it low and slow just outside your main fire.
Top Heavy: Use more coals, or charcoal, on the top than the bottom. You might burn the content, but you probably won’t. Dutch ovens are forgiving.
Steal the Show: Make sure to alert the group upon completion. It won’t take much to lure a crowd to watch that fragrant steam rise when you lift the lid.
Beyond Dessert: As you grow into it, you’ll find yourself using it for more than just dessert. You can stir fry bacon, onions and peppers for breakfast, make one-pot meals or quickly reheat leftovers (or pre-frozen enchiladas) for dinner.
Here’s a simple recipe for awesome breakfast cheesy grits, ideal for river kitchens.
½ lb. bacon.
1 cup instant grits
1 tsp salt
2 tbs butter, or approximate
1 4-6 oz. can diced green chilis
1 cup shredded cheddar cheese
Cook bacon in the Dutch oven, remove bacon and most of the grease when done. Heat approx. 4 cups of salted water in a covered Dutch oven. Bring to boil. Add 1 cup of instant grits. Add 2 tbs butter, or bacon grease. Reduce number of coals under oven to simmer grits for 4-6 minutes, stirring often. Add diced green chilis (or jalapeños, depending on the palate of your crew). Add 1/2 cup cheddar cheese. Continue cooking until grits have reached desired thickness. Serve and top with crumbled bacon and extra cheese. Additional toppings include fried eggs, green onions and hot sauce.
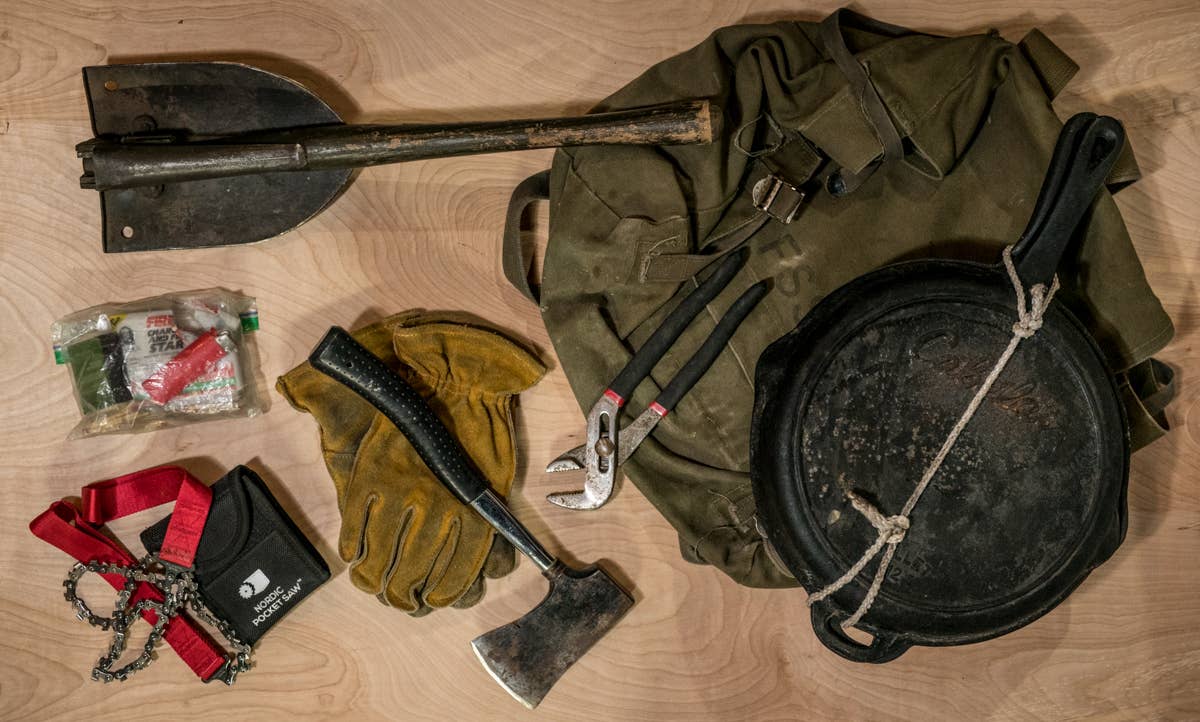
Packing Considerations: Using this cast-iron asset cuts down on your liquid fuel and stove use, as well as single use items. However, they are heavy, so you likely need some extra tools, including a small shovel or spade, thick insulated leather gloves, and a pliers to lift the lid. But the benefits easily outweigh these issues. The entertainment factor alone is worth it, it’s so much fun! Oh yeah, and that delicious food!
Cleaning a DO: Easier than you think. I like to use mine as a dishwashing bowl for the rest of the stuff I need to clean first, like cutlery, bowls and cups. I fill it with soapy water and get it warm over the fire. After I’ve washed all my other stuff it’s fairly easy to finish off the Dutch oven itself. Don’t go crazy w soap and scrubbing on the Dutch, you want to keep the surface seasoned. Extra points if you let the dog clean the Dutch oven before you fill it with hot soapy water.
Level Up: Start adding more cast iron accessories like the Camp Maid System.
from Men's Journal https://ift.tt/2Exq5RN
No comments:
Post a Comment